
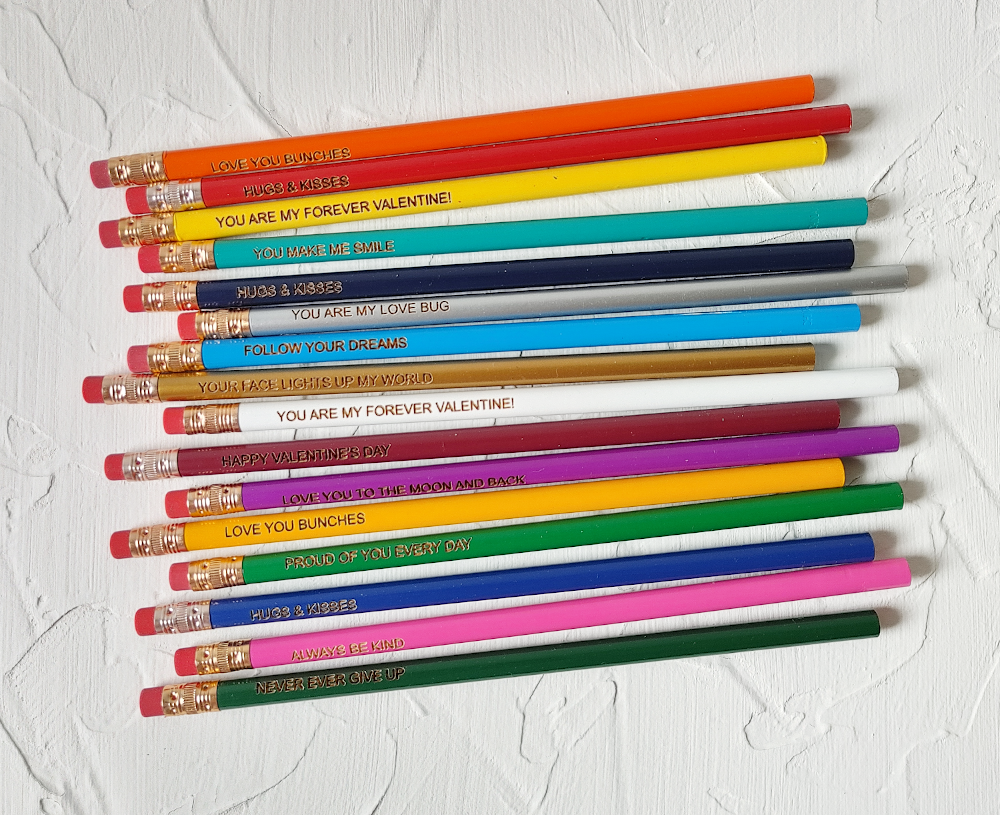
Find the Perfect Gift
View all-
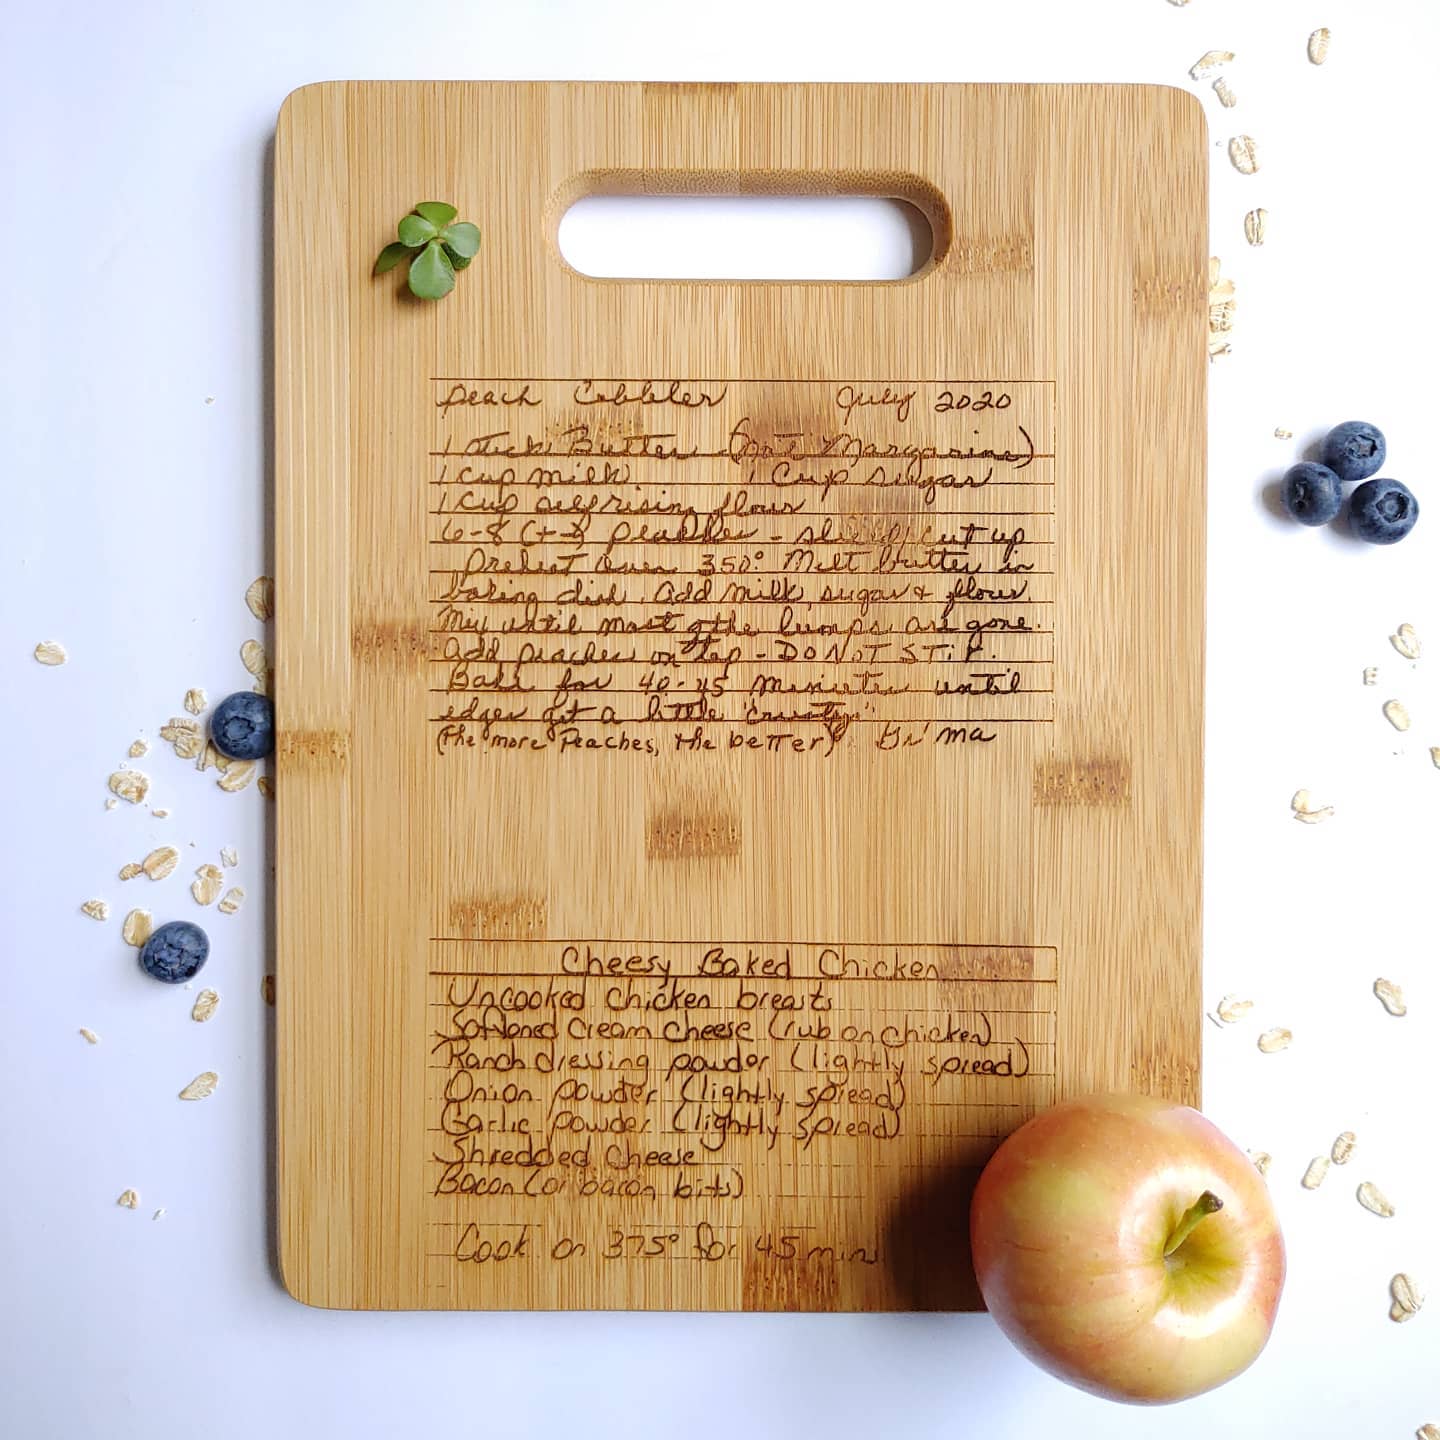
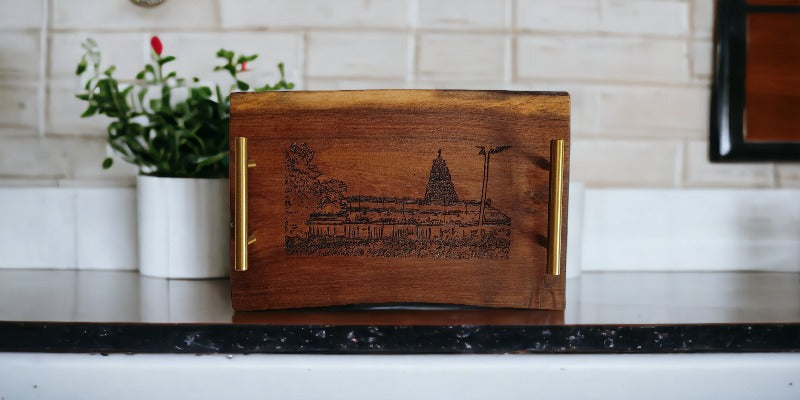
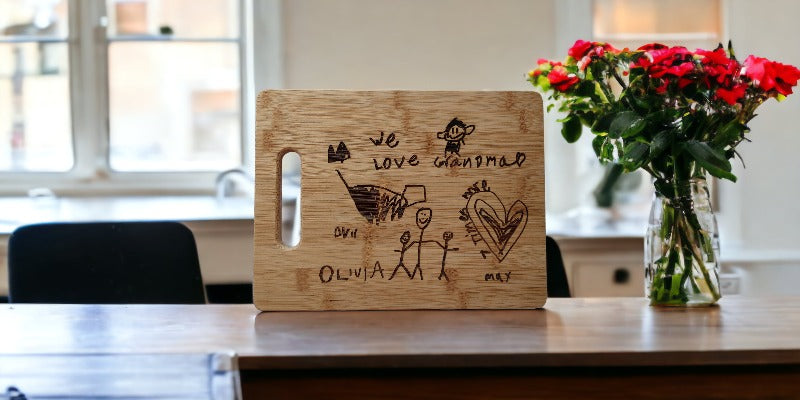
Cutting Boards, Cheeseboards & More
Personalized cutting boards make great gifts for all occasions! Personalize them with a favorite...
-
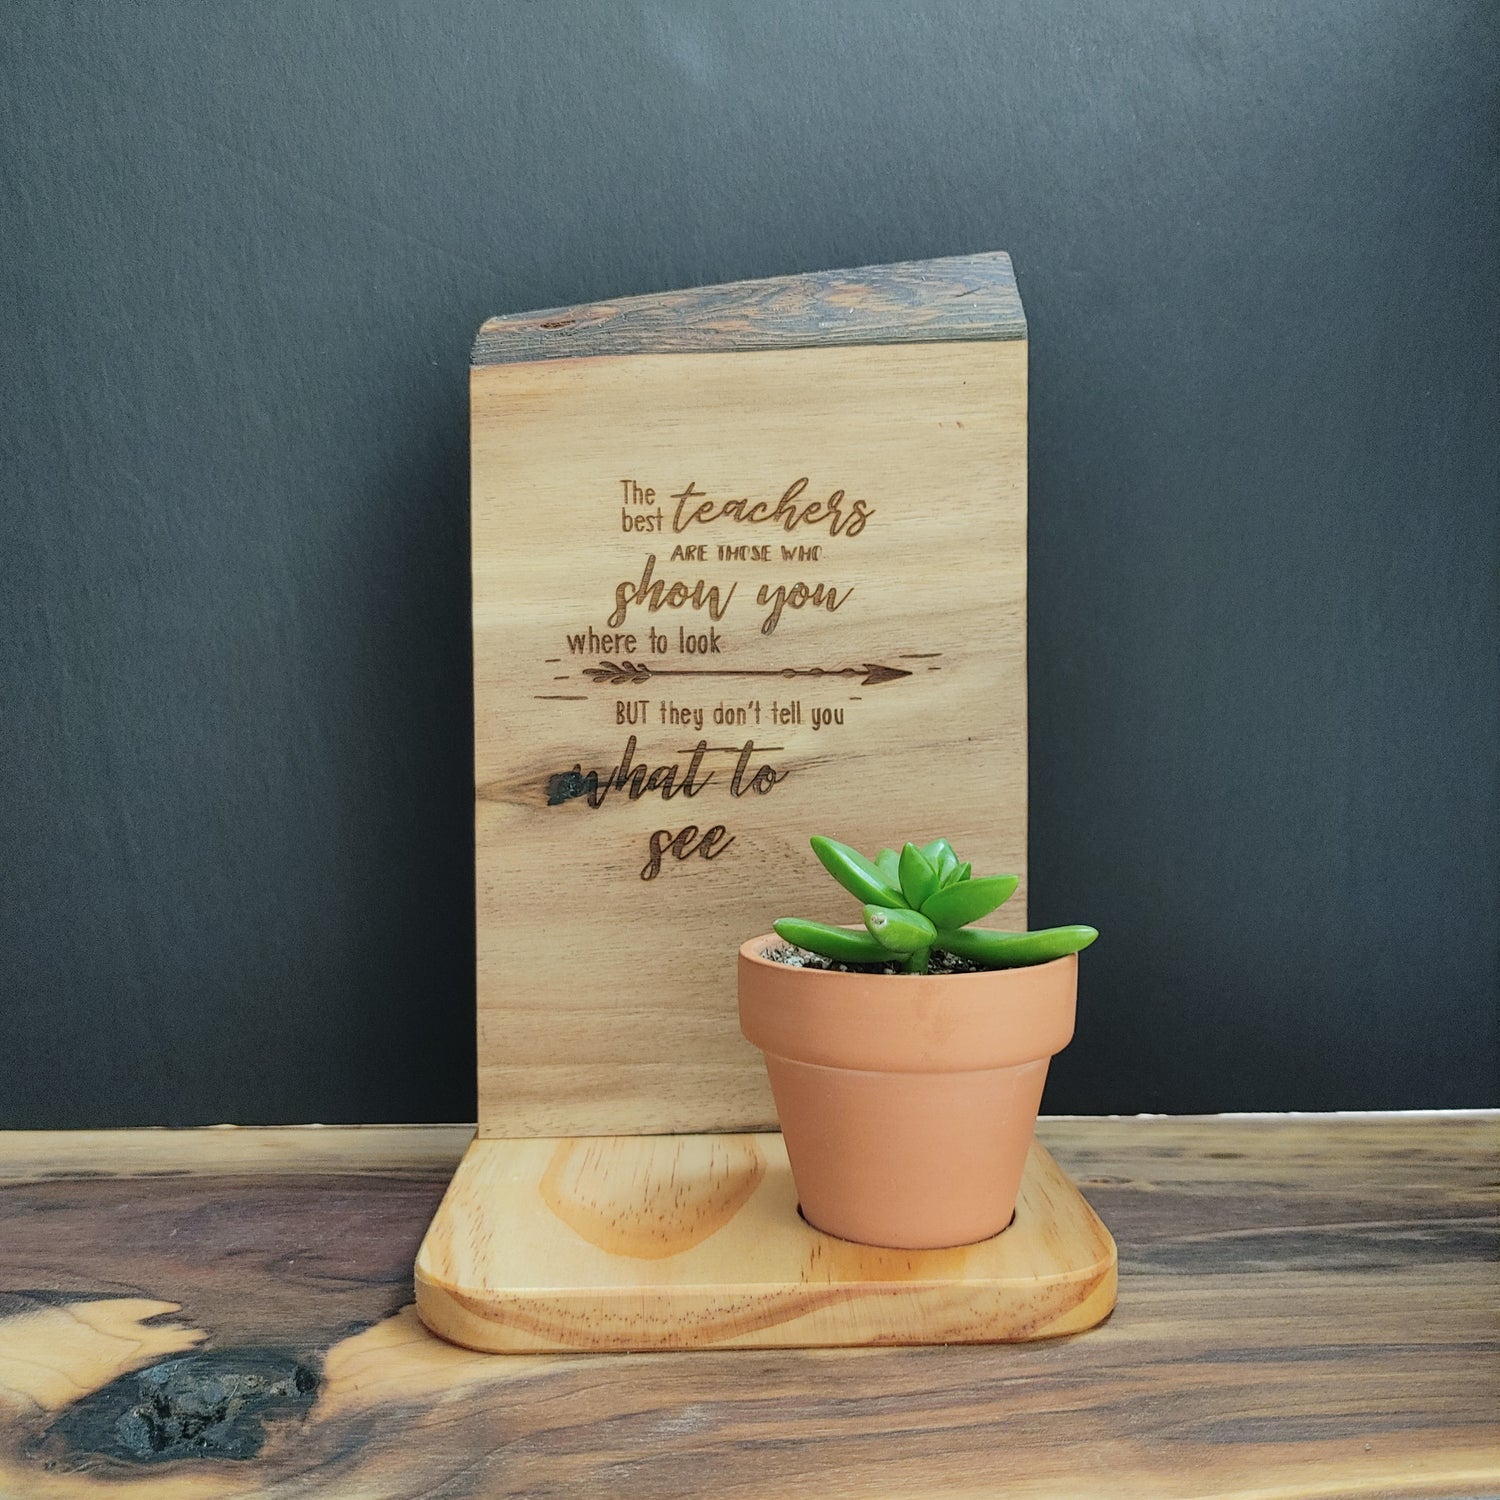
Live Edge Wood Tables, Planters & More
One of a kind, hand crafted serving boards, planters, candle stands, charcuterie...


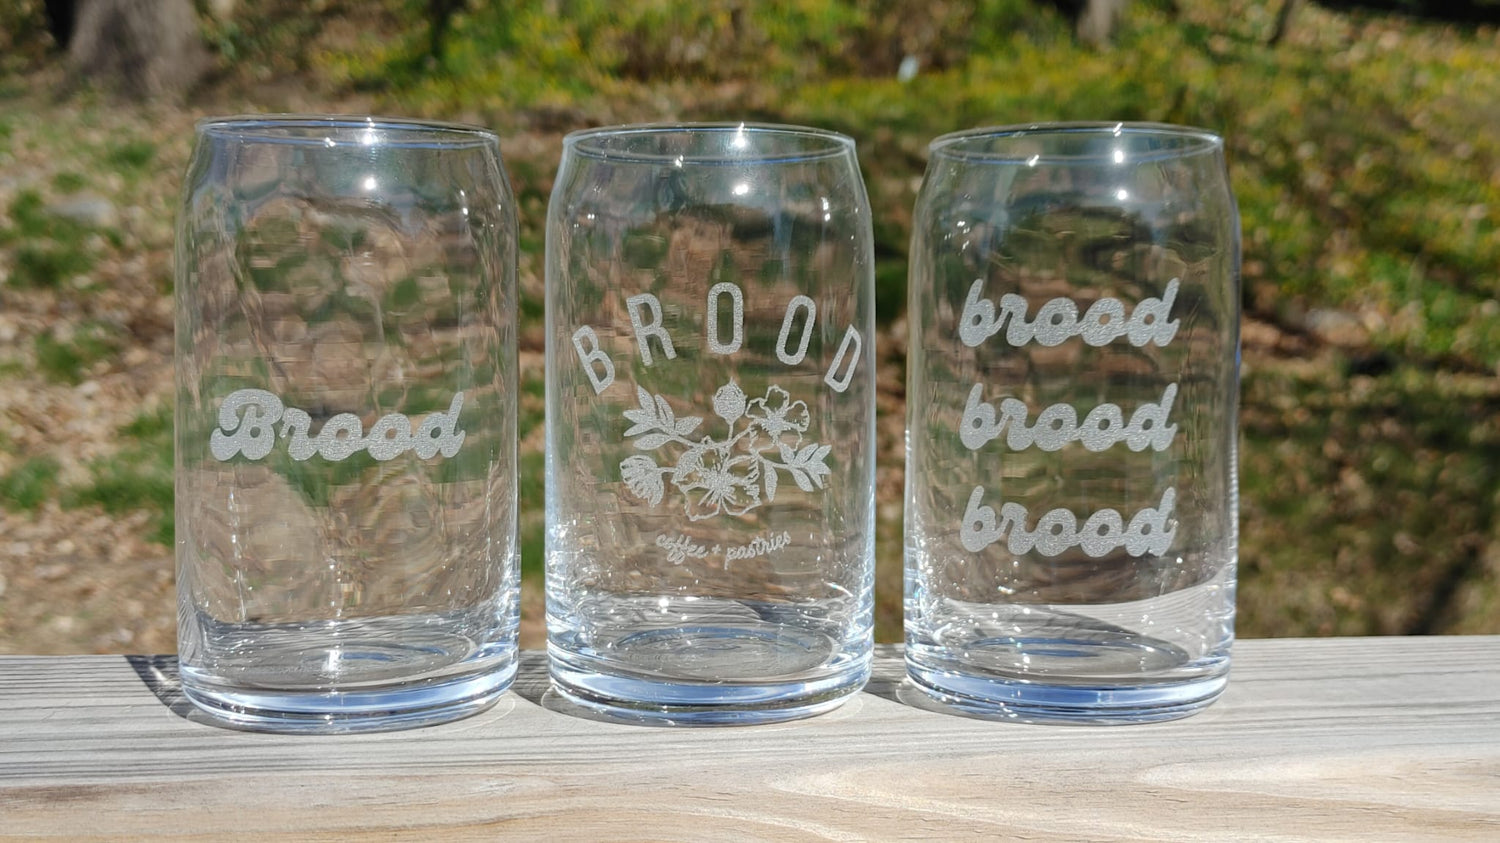
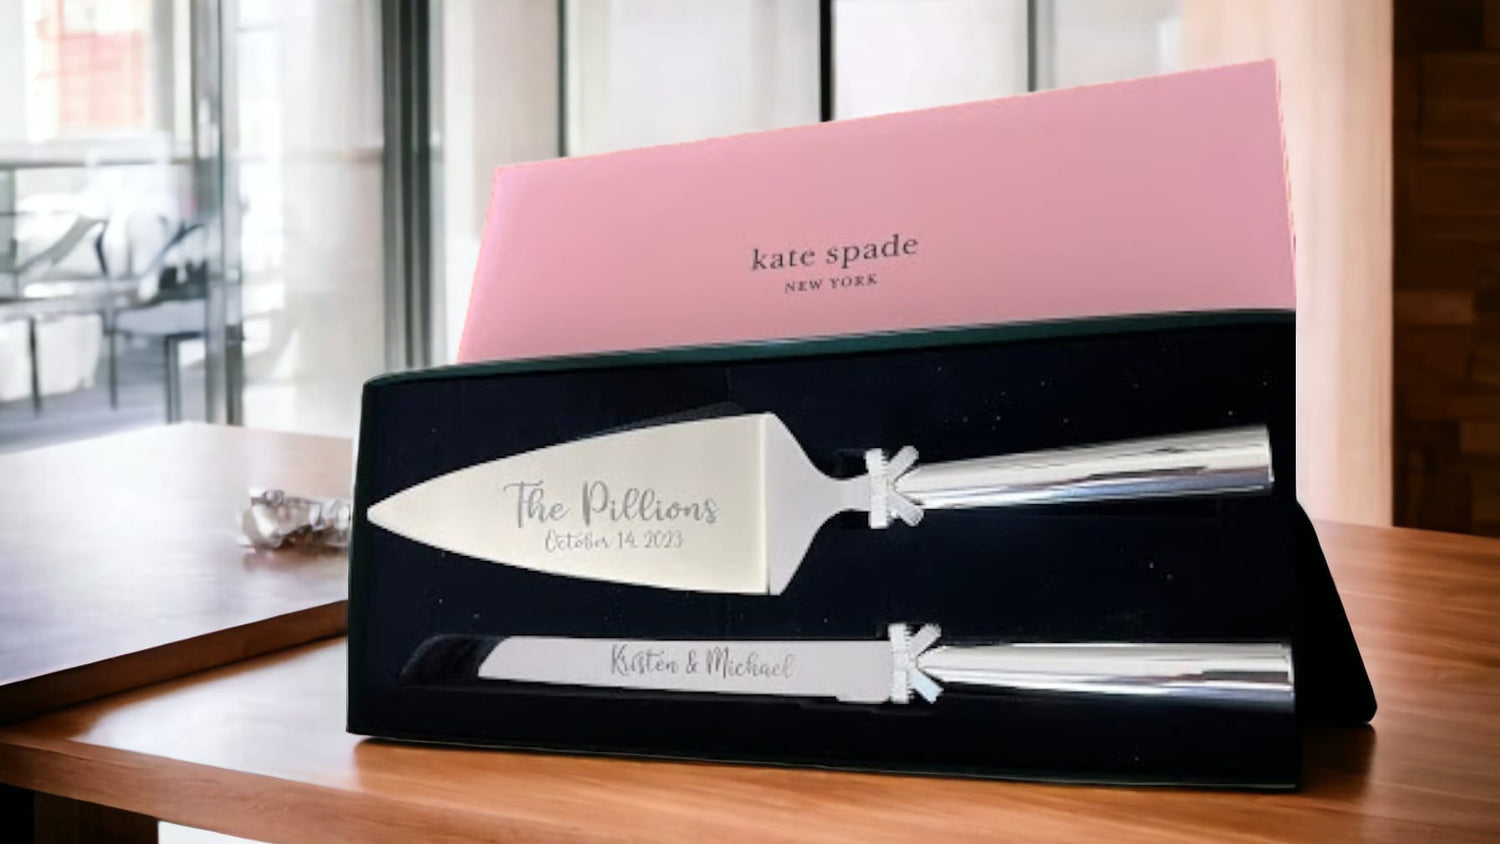
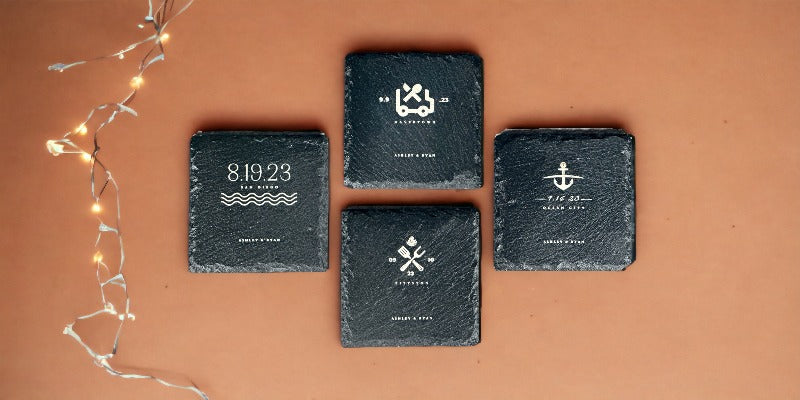
BYO Engraving Services
Whether you need a fancy bottle of bourbon or a champagne saber or jenga blocks - we can personalize them all for you! Our custom engraving services start at $35. Contact us to get the details.

On-Site Engraving
We offer live, on-site engraving for corporate events, weddings, and private parties. Watch the process from start to finish as we transform our products into custom pieces your guests can take home the same day.

It Started With Face Shields
Philly DIY started in Ardmore, PA with a simple idea: make things that mean something. We're a husband and wife team — an engineer and a marketer — who got serious about personalized gifts after spending the pandemic 3D printing 12,000 face shields for local first responders. We haven't slowed down since.